
Task Templates
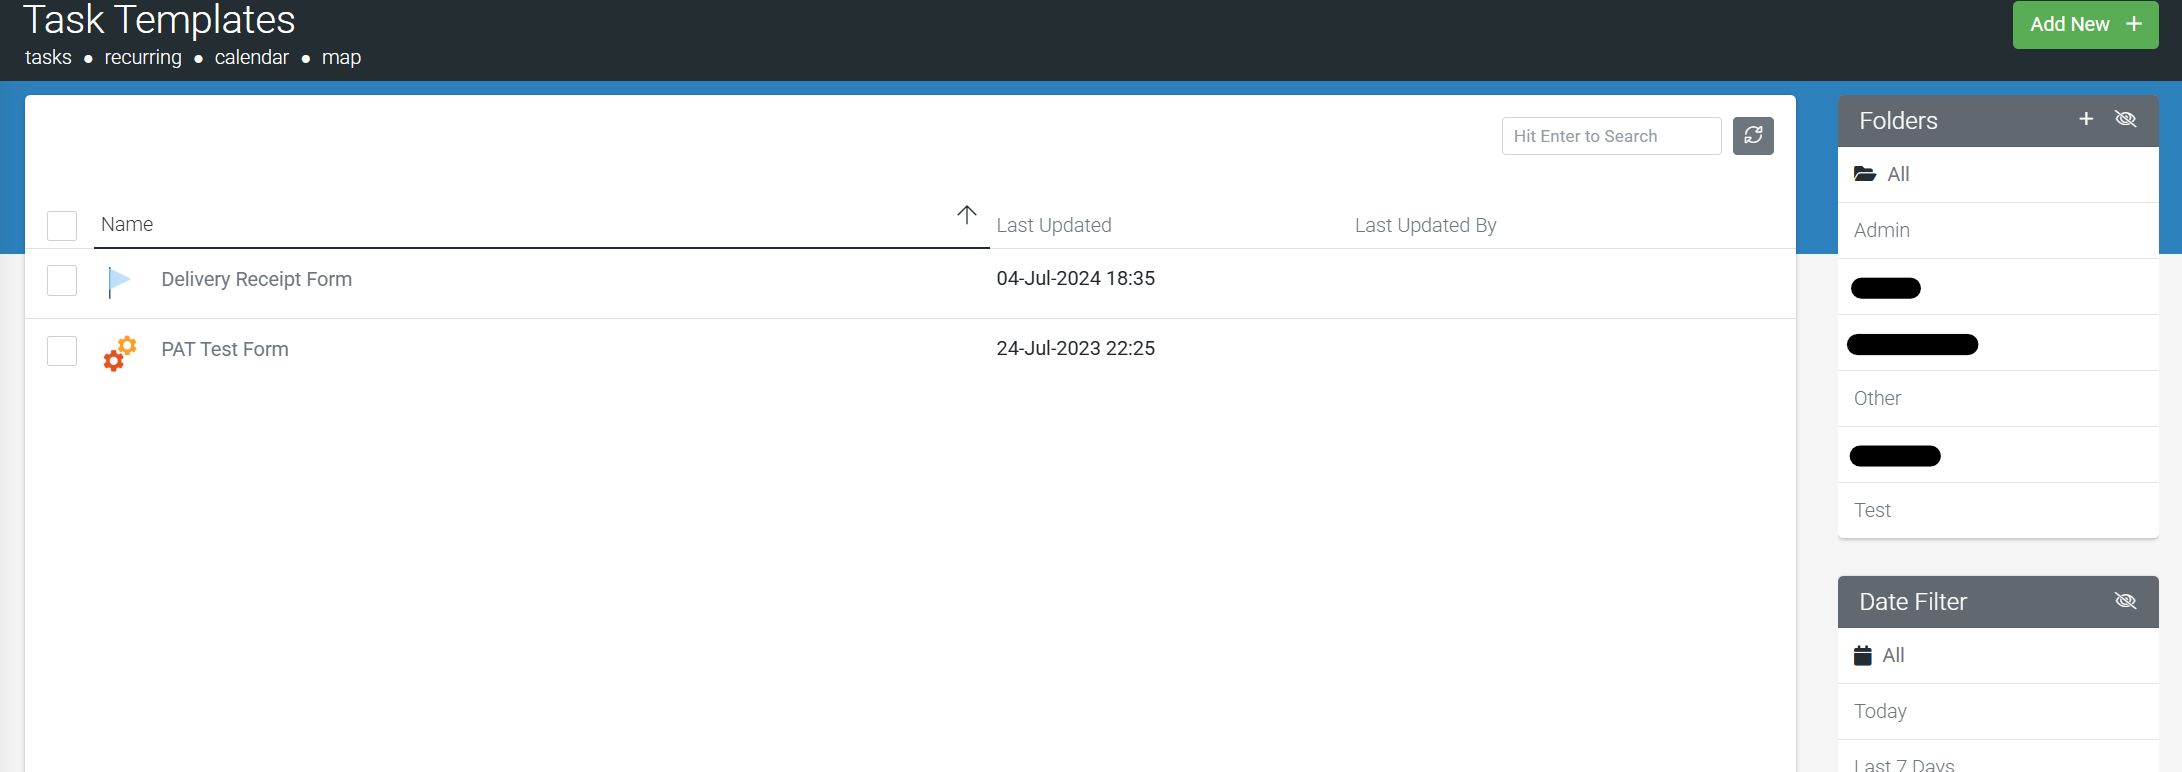
When logged into the web portal, navigate to Tasks&Dispatch > Task Templates to view any existing and Add New templates.
When adding a new template, you'll be guided through the following steps to create your task template:
In this article
- Create Task Template
- Template Details
- Template Activities
- Template Presets
- Template Review
- Template Connectors
- Create
- Example
Create Task Template
The first step lets you set Basic Settings and Advanced Options for the Task Template you're creating.
Basic Settings

| Template Name | Enter a name to identify the template when creating tasks from it. |
| Description | Enter a brief description of the template. |
| Icon To Display | When receiving the task, select an icon to display on the users' devices. |
| Allow File Attachments | Allows the user creating a Task from this Template to add file attachments to Template Activities. |
| Create as Draft | By default, Tasks created from this Template will have the 'Send Immediately' option checked in the Task Wizard. Use this option instead to create the Task in a Draft status by default. Note this does not apply when creating recurring tasks from a template. |
Advanced Options

| Reviewable? | Whether or not Tasks that are created through this Template can be reviewed. This is useful for adding an office review/acceptance process that occurs after the Task has been completed in the field. Reviewable Templates also allow you to specify which Form entry fields can be updated by office users after the job is completed on the app. Note, adds a Task Template Review step to the template creation process. |
| Custom Statuses | Add custom statuses that reviewers can apply after the app user has completed a Task. This is useful for tracking the steps of an office review/acceptance process after the Task has been completed in the field. You can also change the names of the existing app/system statuses and specify color coding for the various status options. |
Template Details
Set various details and properties for the task created by the template. Please review Adding a New Task for more information, as Template Details are essentially Task Details.
Template Activities
Add various activities or file attachments for the task created by the template. Please review Adding a New Task for more information, as Template Activities are essentially Task Activities.
Template Presets
When the template consists of activities to Fill Out Form, the Presets step allows fields from the specified form(s) to be added and, when creating a task from the template, dispatchers can pre-fill those fields with data before sending the task out.

And, depending on a preset field's type, whether it be a text, date/time, Choices driven from a data source, or even fields within a table field. The dispatcher will be able to enter or select data as in-app.
Template Review
If the Reviewable option was checked on the Create Task Template step, and the template consists of activities to Fill Out Form, the Review step allows for fields from the specified form(s) to be added that can be reviewed/updated by office users after the task is completed.

Template Connectors
And finally, if you'd like to send an Email out or your web service, use a few other connectors that can be triggered based on whether the Task is Overdue, Owner Changed, or Status Changed. Then, add a Template Connector to update you on a task's progress.

Create
Once you've set all the options and settings as desired, hit Create on the Template Connectors page on the top right corner. Your new template will now be available to create new tasks from when adding new tasks using our Tasks&Dispatch menu areas.

Editing a Template
Once created, you can edit the template. To do this, hover your mouse pointer over the template name in the list and choose which property you want to edit.
Finding a Template
If you've managed to amass many task templates, finding your template is easy with our "All" filter. This will show all task templates you've created for all date ranges.
| By default, the Date Filter is set to the last 12 months. |
Delete a Template
To delete a template:
- Choose to edit the template Details or Settings
- Click the Trash icon at the top right of the screen. Confirm the deletion
Example
| TASK TEMPLATE | ||
| Email notification when task is overdue | ||

| Create a task template and configure the Basic Settings on Template Details. Expected Complete Time: Complete Within (Days): 0 (i.e. same day) | 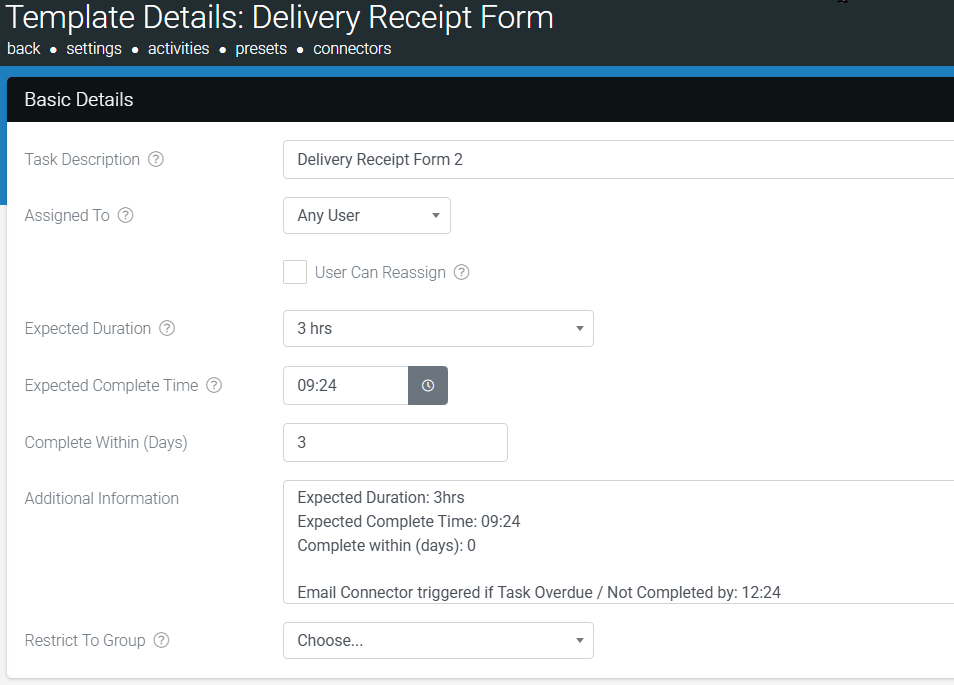 |
 | Add a Template Email Connector and configure it's setitngs. Run Connector on: Task is Overdue by 0 days. To Address(es): Person(s) being notified | 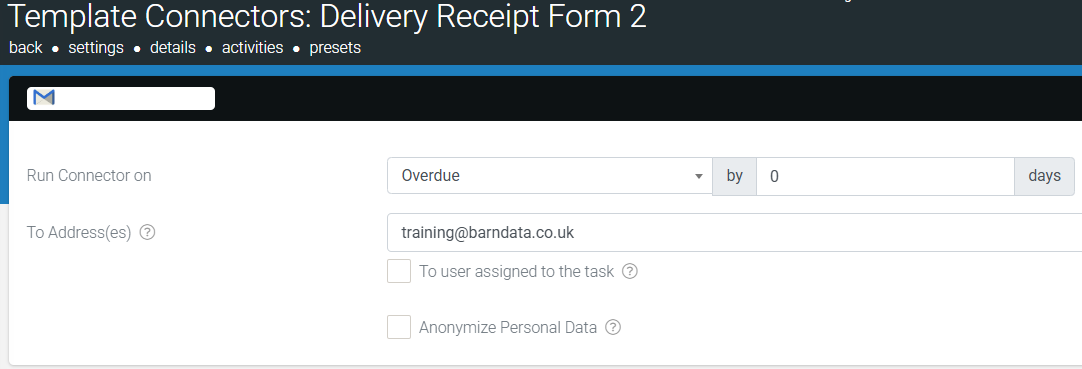 |
 | When creating a new task from the task template. The Complete By date/time will pre-populate from the Task Template, and the Task Template Email Connector will trigger when overdue. Evident in the Task's Connector Logs. |  |