Managing Users
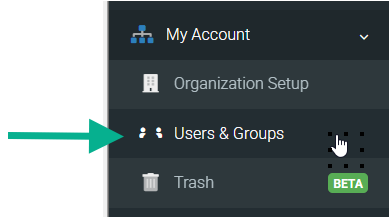
Go to My Account > Users & Groups to view a list of Active, Invited, and Inactive users. With various filtering options, you can identify users based on status, type, or keywords to narrow down the list to update their details or edit permissions.
In this article
Adding Users
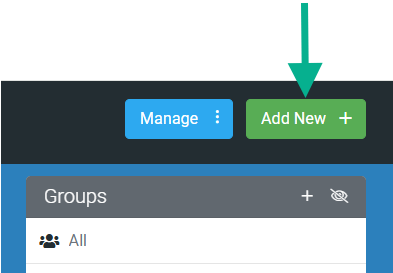
On the Users & Groups page, to add a new user, click the Add New+ button on the top right to take you to the Create User page. This is where you can fill in the required details and a few optional settings to create a new user successfully.
| Note: once a user logs in for the first time their status changes to Active, and the Delete button is accompanied by a Deactivate button. Clicking the Deactivate button will change the User’s status to Inactive. Inactive users won’t be able to log into the app or web portal, until reactivated. |
Editing Users
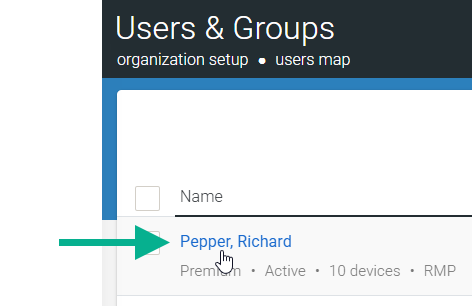
On the Users & Groups page, to edit or update a user, simply hover over and click on the user’s name.
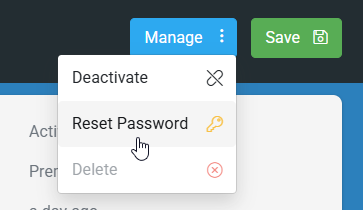
On the Edit User page, you can deactivate them to prevent further access to the app, reset their password to send an email with new login details, or delete them.
Or edit and update the following areas.
| Basic Details | The user’s type, email, name, and website access. |
| Access & Security (if user can access website) | Control the user’s access level and permissions for platform areas. |
| Regional Settings & Other Info | Set the user’s Country and time zone and add user metadata. |
| Assigned Folders | Folder content the user can access when stricter access rules are applied. |
| Group Memberships | Assign the user to a Group for easier content access control and task dispatching. |
Be sure to log in to the web portal to view all the options available, and after making any changes, remember to save them.
User Groups
On the Users & Group page, you can create groups for users who are part of a team or department within your organization. These groups then allow for bulk user access to assigned folders and task dispatching instead of individually.
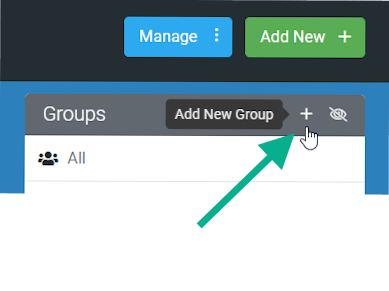
In the Groups area on the right of the page, clicking on the + icon will create a new group. A pop-up will then appear where you can give the group a name and assign users.
By selecting an existing group, the users’ list on the page displays all users assigned to that group.
By hovering over a group and clicking on the gear icon that appears. The Group Settings pop-up will then appear where you can edit the group’s users or delete it.
Manage Users
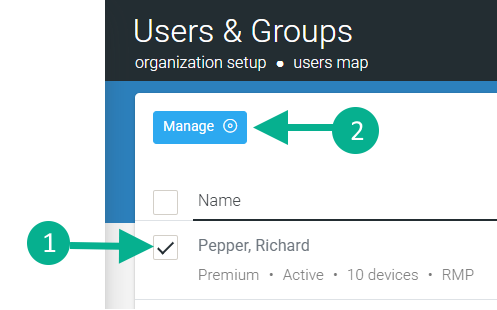
When viewing users on the Users & Groups page, ticking the checkbox option next to each user will display the Manage option, which allows for bulk password resetting, user deletion, and deactivation.
Import/Export Users
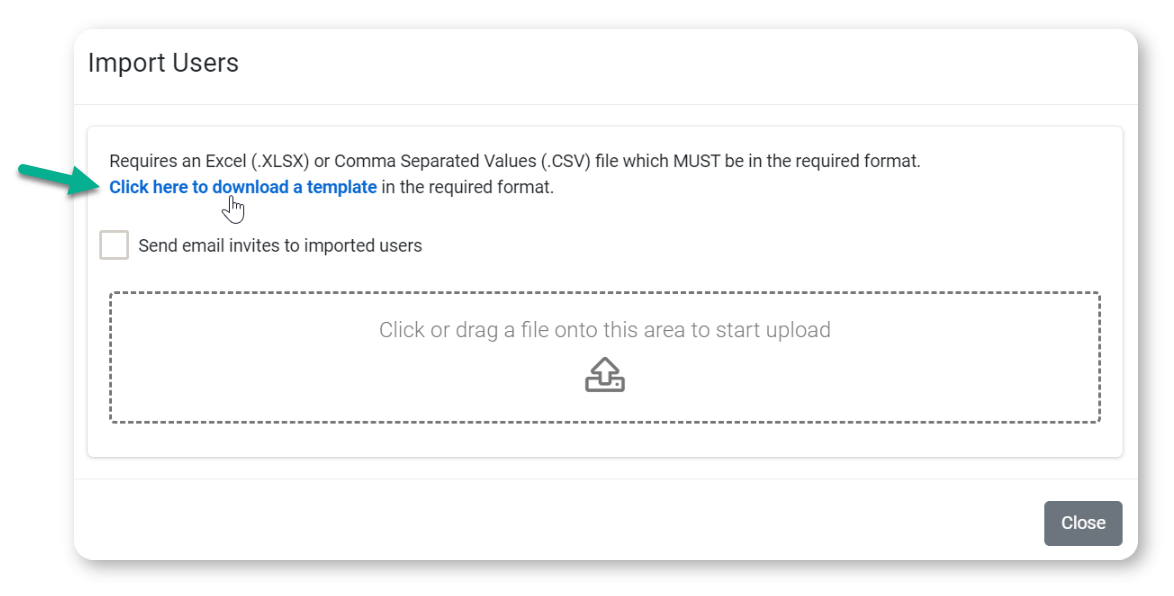
Importing/Exporting bulk users requires an Excel (.xlsx) or CSV (.csv) file in the required format.
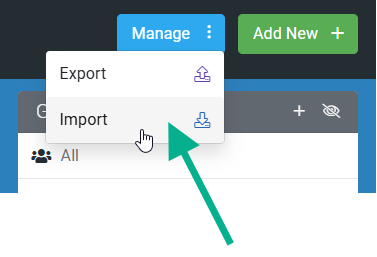
The link in the Import dialogue allows you to download an example format. You can also check the “Send email invites to imported users” box or leave it unchecked if you wish to create the imported users silently.