Receive your Form Data by Email
For this introductory section of our guide, we’re going to concentrate only on the “via Email” connector, but we will cover some of the others in future sections.
So, let’s have our Job Sheet form setup to email submissions to you automatically.
With your Job Sheet form open, click 'Connect' on the mini-menu at the top of the screen:
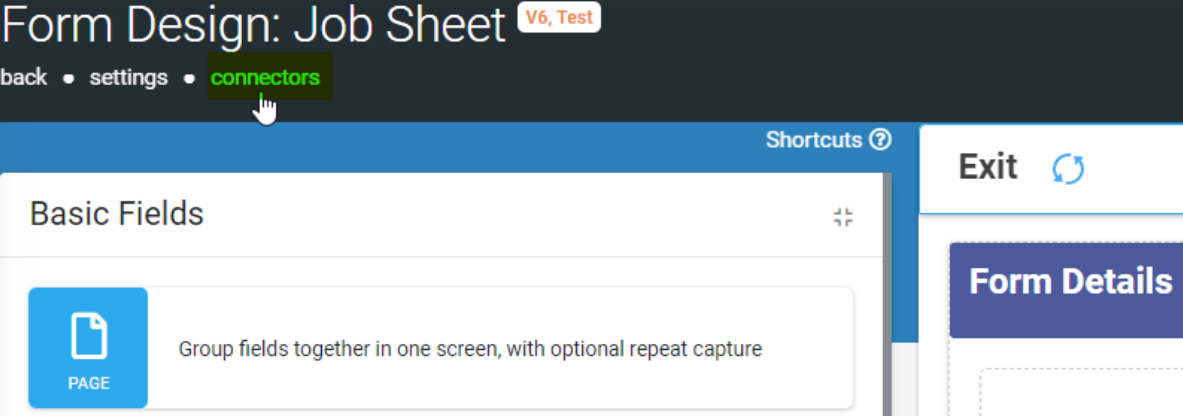
Next, click the 
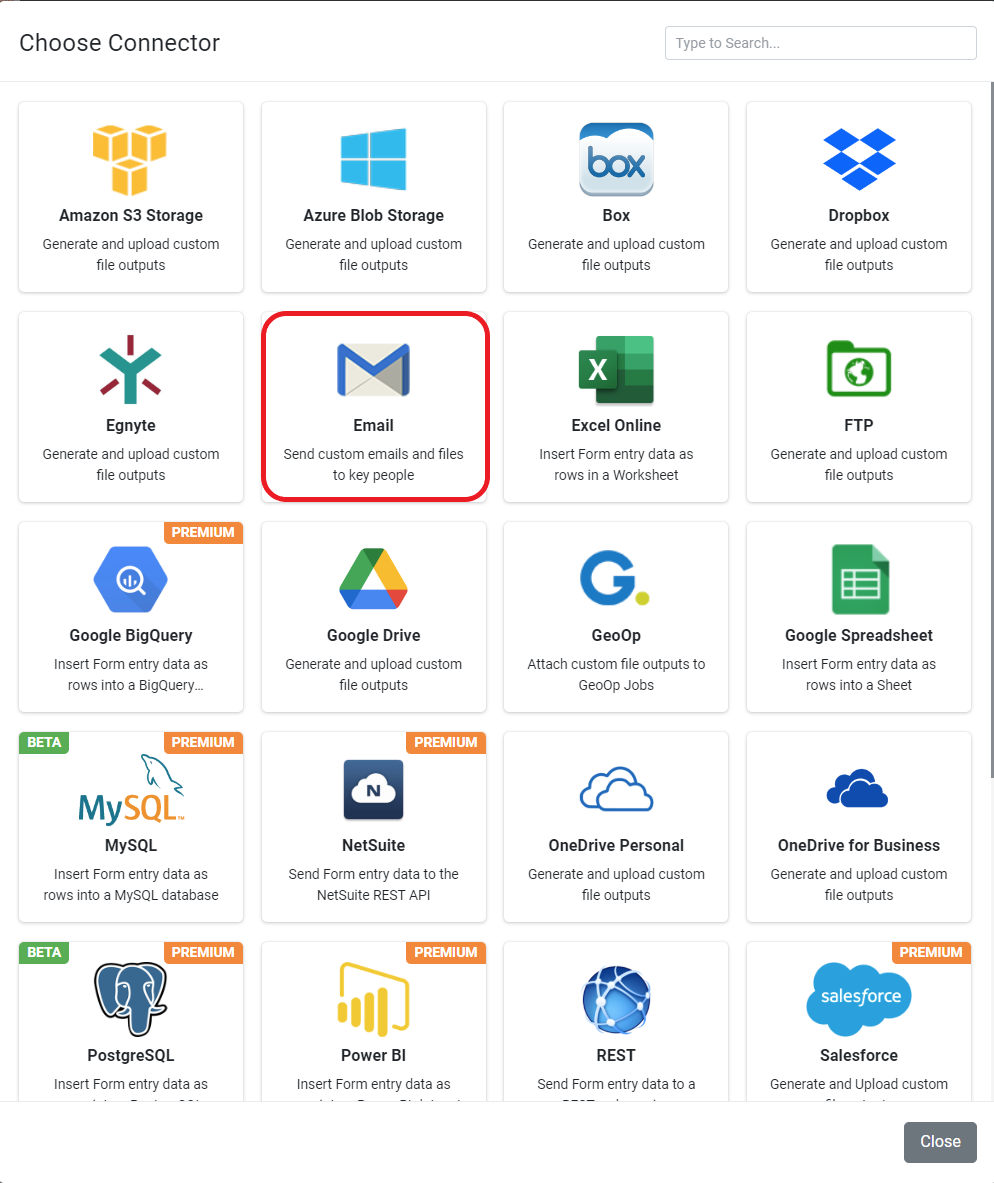
Select the Email connector as shown above. We can then configure the new email connector.
In the File Format dropdown, select “PDF”. PDF files are the most commonly used format for sharing printable, formatted output. The vast majority of business users will have the Acrobat Reader software for reading these files, which is freely available from a company called Adobe.
In the To Address(es) box, type the email address to which you’d like your forms emailed. Probably best if you make this your own email address for now.
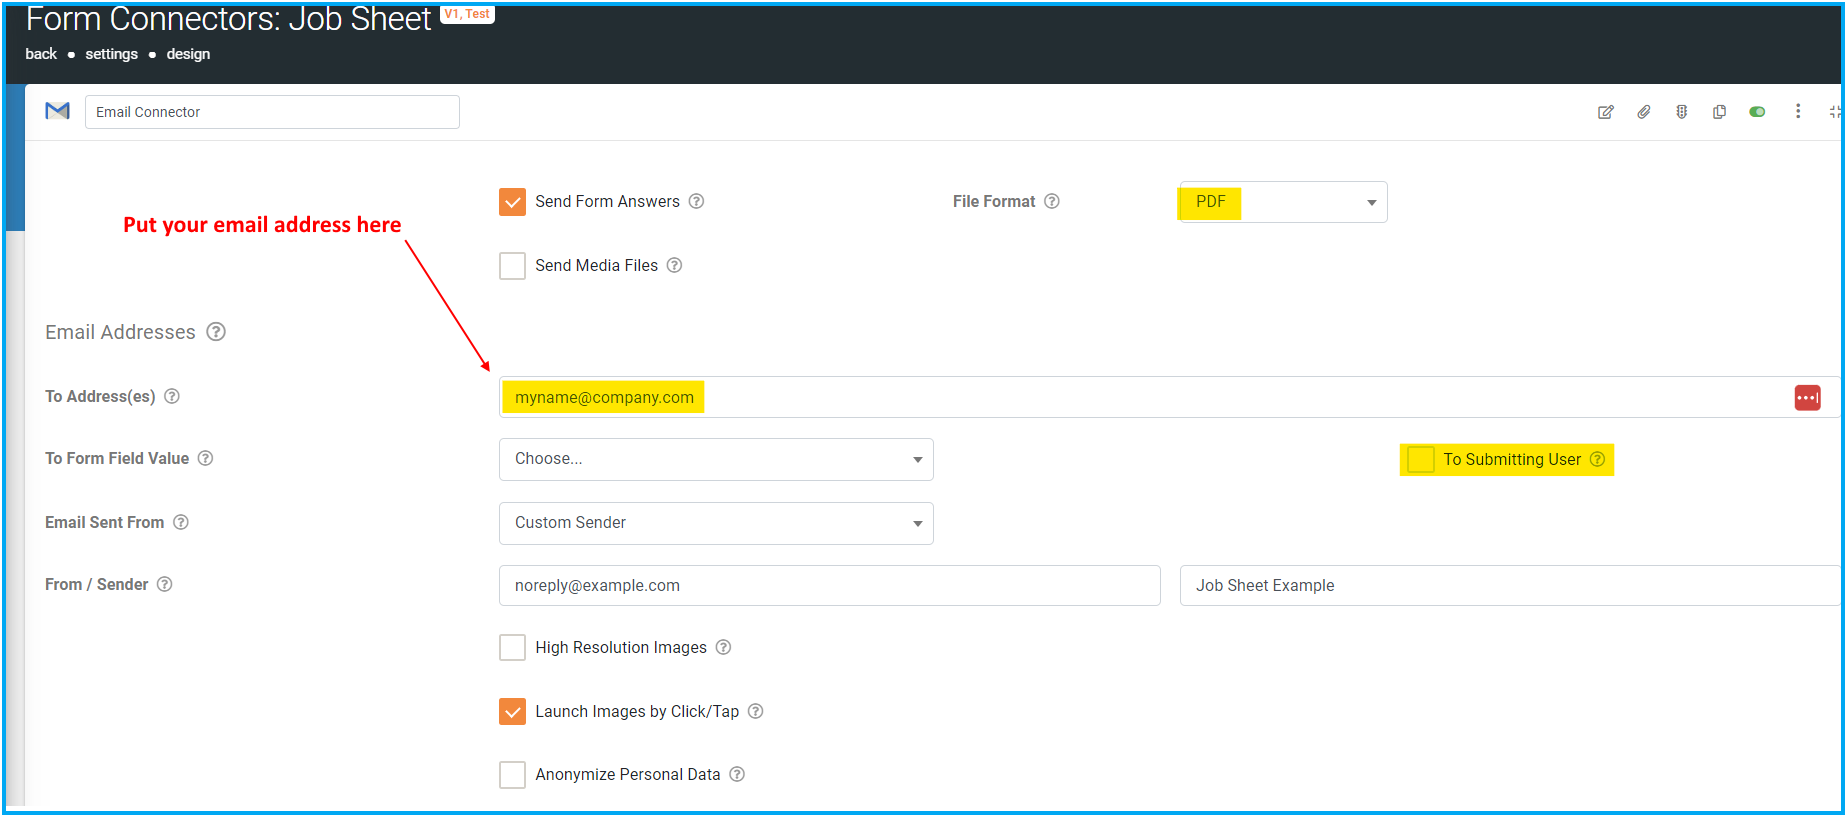
Next, click the 
When your mobile devices submit Job Sheet forms, you should now receive an email with the form entries as a PDF attachment. They will arrive in a standard layout, but we will see in later sections that it’s easy to use MS Word templates to customise the layout of the PDF to make it look the way you want.
You're Almost there!
All that there is left to do is open the app on your device/pc:
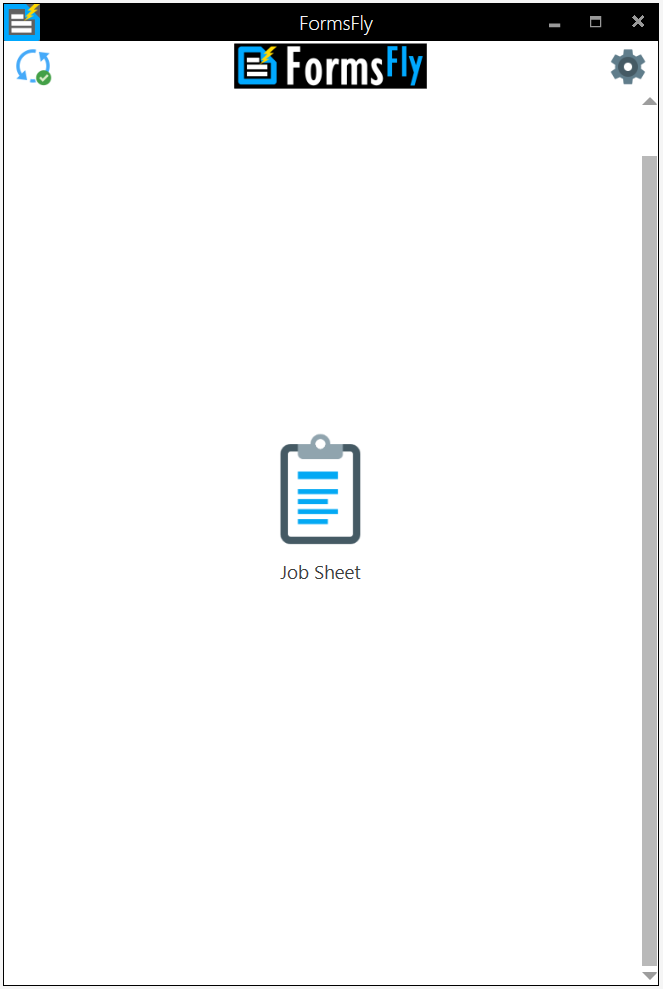
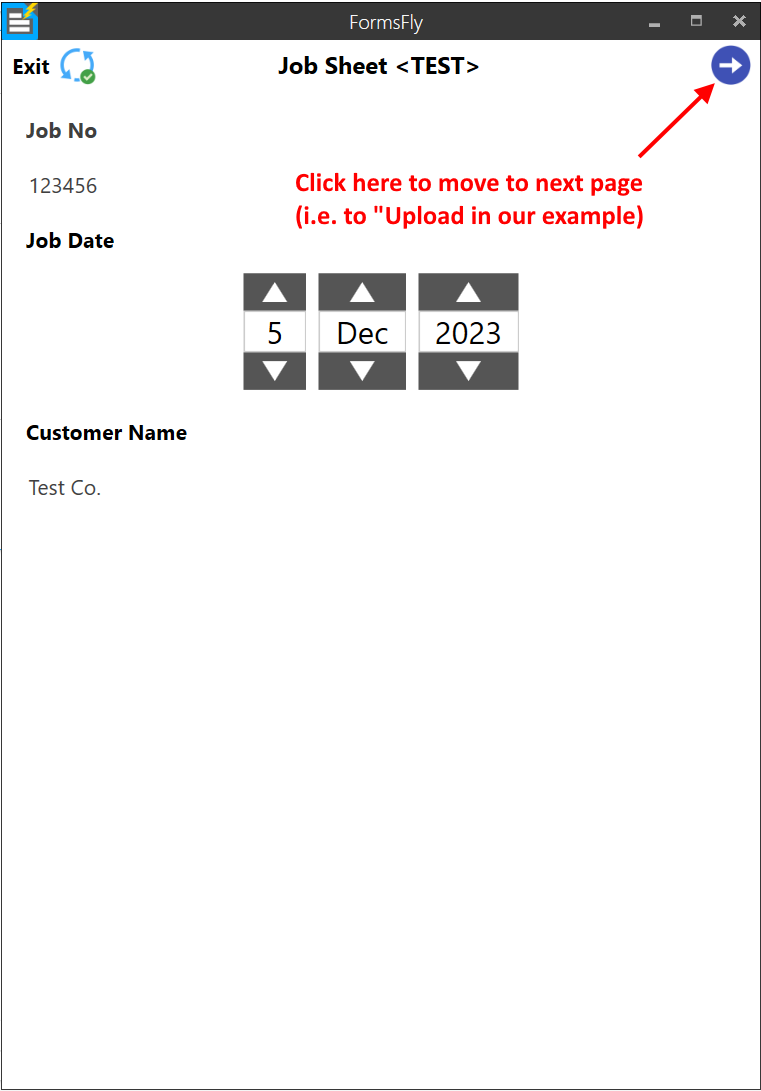
Open and complete the Job Sheet form:
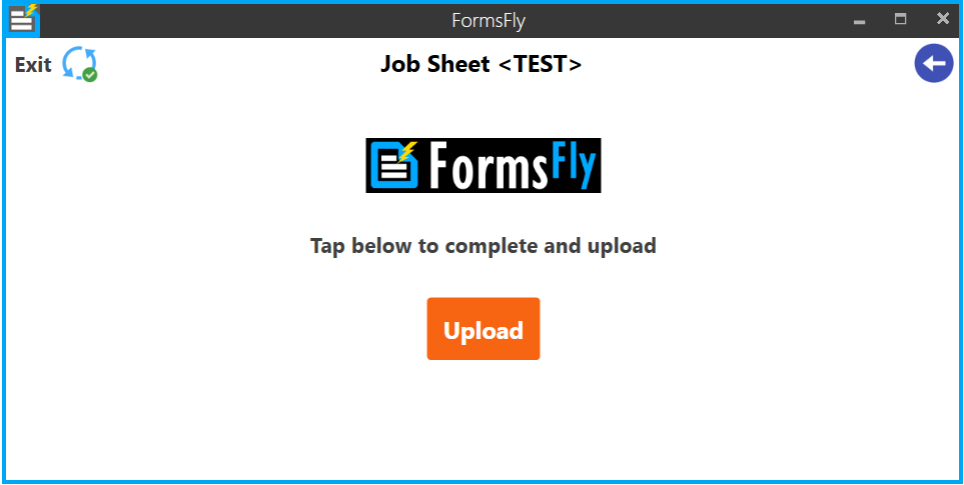
And Upload:
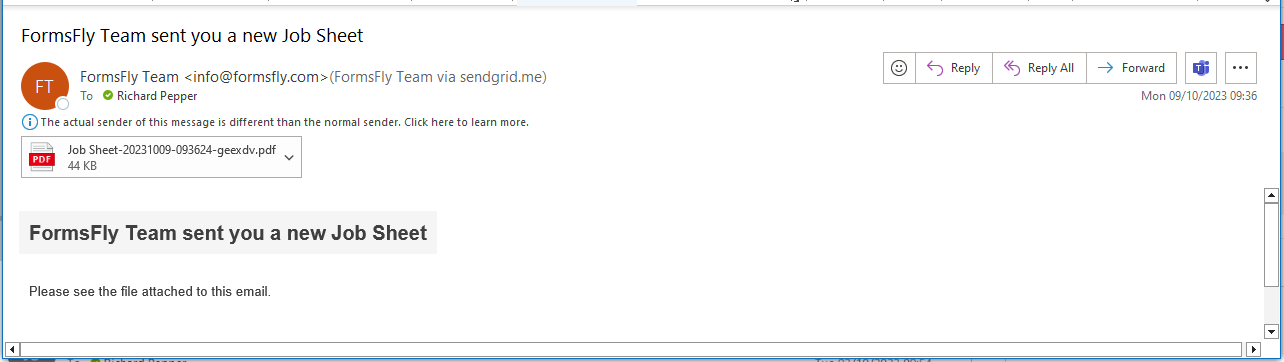
A few moments later you will receive an email with the completed form as a PDF attachment:
If you open the attachment, it will look like this:
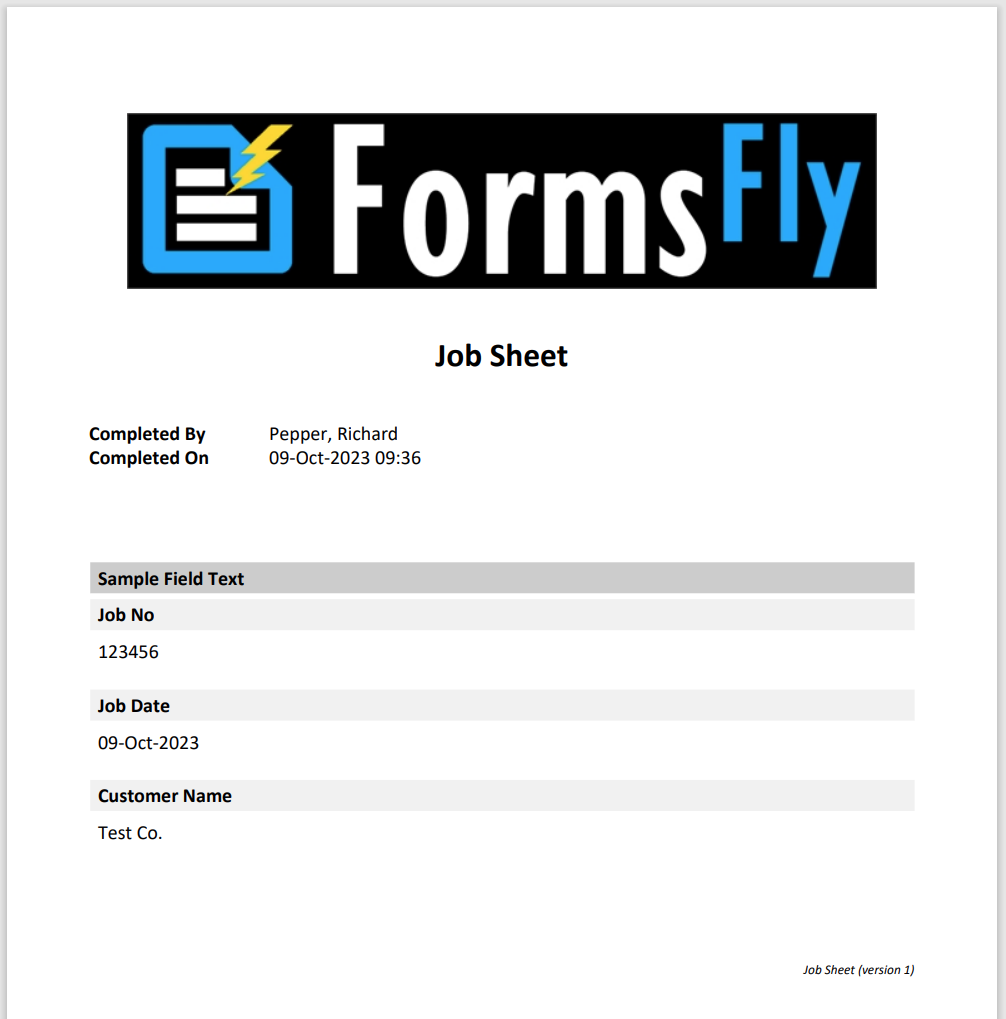
It's as simple as that!
Now you can begin to see the possibilities, can't you!