
Connector
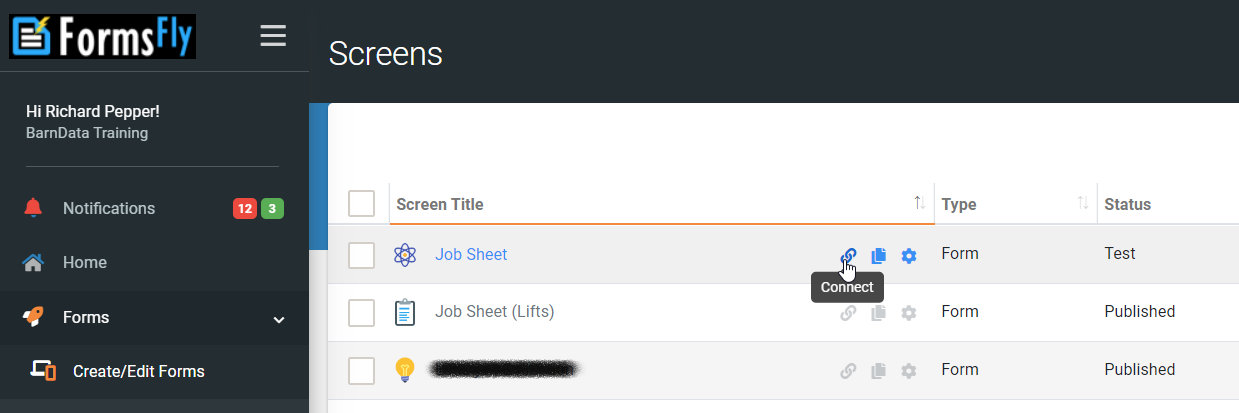
To add or view connectors, go to Forms > Create/Edit Forms on the menu. Then hover over your form screen and click on connect.
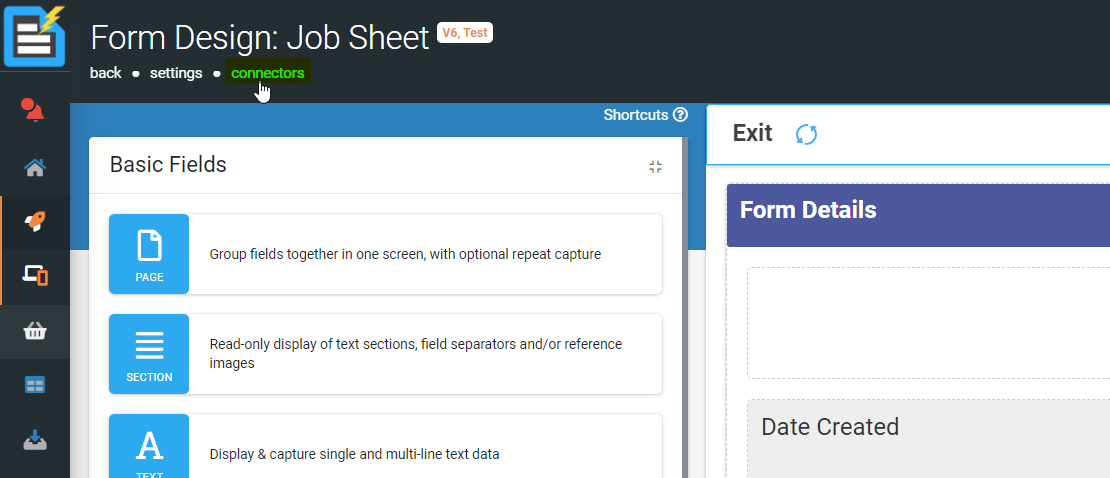
| Note: You can also add Form Connectors from within the Form Design window thus: |
Each connector has its own setup screen. Here are all the options for an email connector.

Examples of Connectors
Via the Website Admin Area
As we have seen, you can click Data Entries > Table View or Data Entries > Map View on the Website Platform menu to view your users’ form submissions.
Via Email
Submitted forms can automatically be emailed to you (or anyone else), in PDF format, as an MS Word document or MS Excel spreadsheet, or as a text file (CSV).
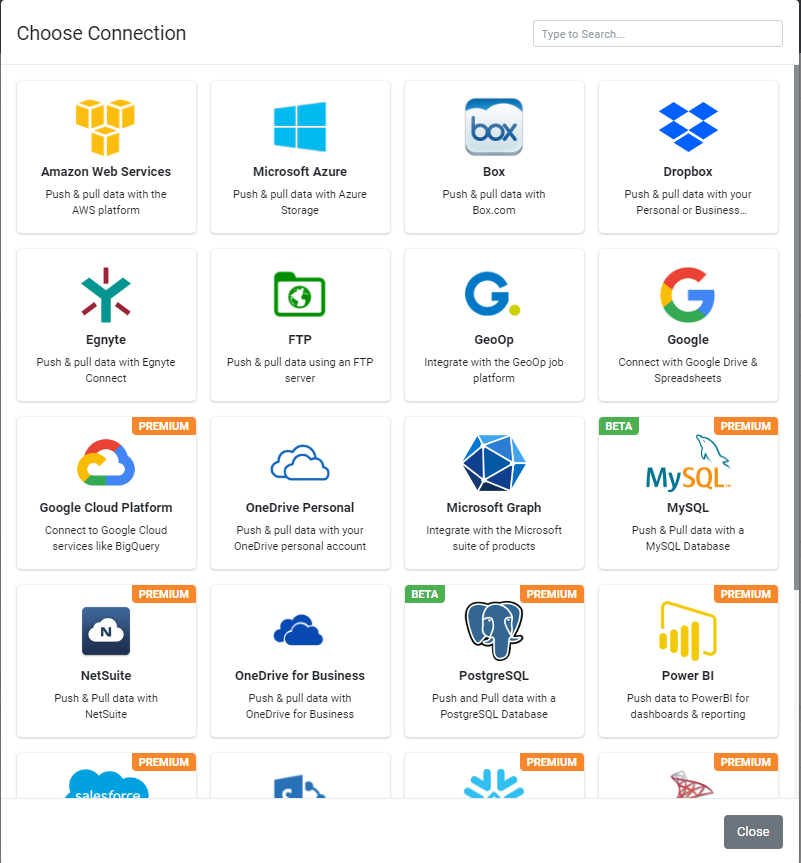
Via a shared storage service like Dropbox, Google Drive or Microsoft One Drive
There are lots of “shared cloud storage” solutions where you can store information on the internet in a secure location, for sharing with authorised people. FormsFly can automatically put copies of your submitted forms into a shared folder on one of these services. That makes it available from your PCs or other devices.
Via FTP (Website Upload)
If you authorise it to do so, FormsFly can automatically upload copies of your submitted forms to a website location, using FTP (“File Transfer Protocol”). Your website Administrator will be able to help with setting this up.
There are other options too. All of these options are accessed in FormsFly by attaching Connectors to your form.
Notes
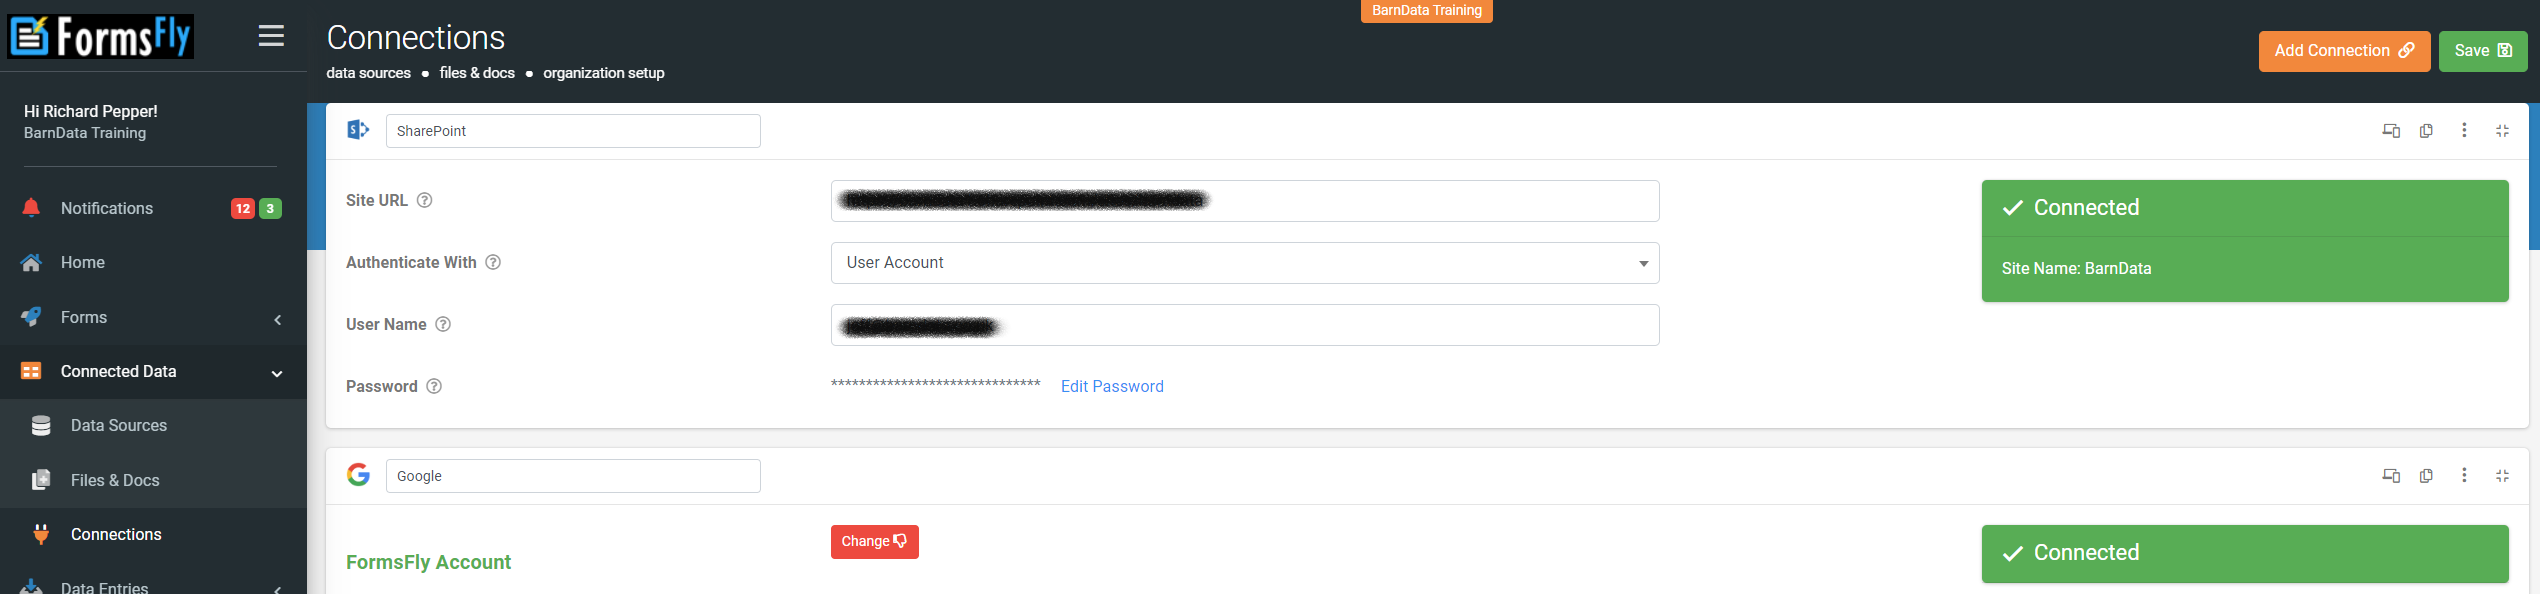
To setup a connector which uses a shared service (Dropbox, Box, Microsoft), it needs to setup in the Connected Data > Connections screen, to allow FormsFly access to your account on the shared service.
Email. Can be to any valid email address. There is a size limit of 20 megabytes for all email.
When a size greater than 20 megabytes is needed then one of the other connectors must be used if a custom destination is required.