
Filter what users see on the app and platform
Access Permissions control the user’s visible areas and abilities on the Platform
User Groups and Folders control what specific Screens and other content the user sees on the Platform and app
Formula filters can control what the user sees within a specific Screen on the app
In this article
- Restricting Control Levels and Access to Areas of the Platform
- Restricting Access to Screens and Docs
- Restricting Screen Access/Visibility on the App
- Filter Data Rows Prior to Being Sent to the App
- Filter Data Rows Dynamically On the App
Restricting Control Levels and Access to Areas of the Platform
If you want to give users limited access to parts of the Platform, you can do this via the Access Permissions section found on the Edit User page.
Simply head to Menu -> Users -> roll over a user in the listing and hit “edit user”.
Choose the access level and specific areas that the user will be permitted.
Access levels control what the user can do
- Read Only access level provides viewing only power to the user
- Read/Write allows the user to modify content and allows them to access most functionality
- Administrator users have full control over all aspects of the system.
They are also the only user level that have access to administrative areas of the platform menu such as Organisation Setup, Users etc.
Access areas control the Platform areas/features that the user is permitted to see
Simply unselect the areas you want to keep the user out of.
e.g. unselect the App Builder area to remove that option from their navigation menus when they log into the platform .
Restricting Access to Screens and Docs
Restrict Access by Folder
If you want to show different sets of Screens to different sets of users – e.g. let managers see additional Screens – then you should create Folders and assign the relevant Screens and Docs to these.
Generally these Folders should be modelled on the specific role or other app user groupings you wish to control, and you need to make sure the relevant users have been given access to the respective Folders.
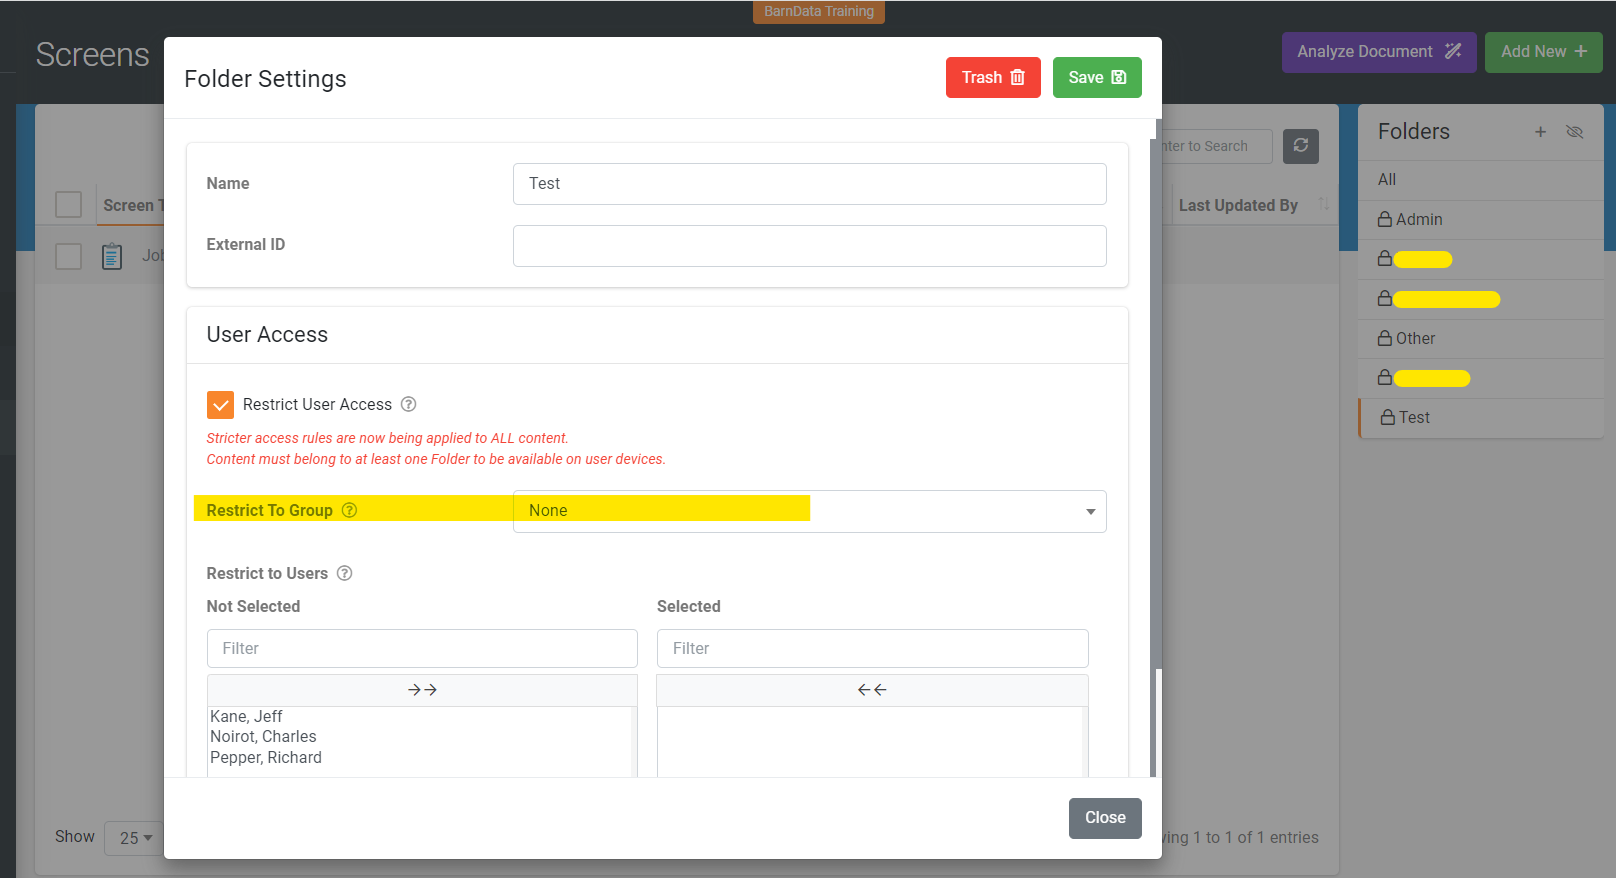
You can turn on access restrictions on a per Folder basis, granting access to the Folder by user group and/or on a per user basis.
Click here for more information on how Folders work.
Manage Access Easier with User Groups
User groups make it easier to manage large numbers of users, by create groups to represent the various units/departments in your company account.
This approach ensures that you don’t have issues such as different departments seeing and/or modifying content that belongs to other departments.
Create new user groups via the Menu, My Account > Users & Groups page.
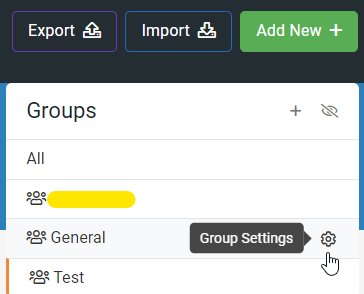
Once you have created Groups, assign users to the relevant Groups by clicking the Group Settings "cog" icon to open the Group Settings page.
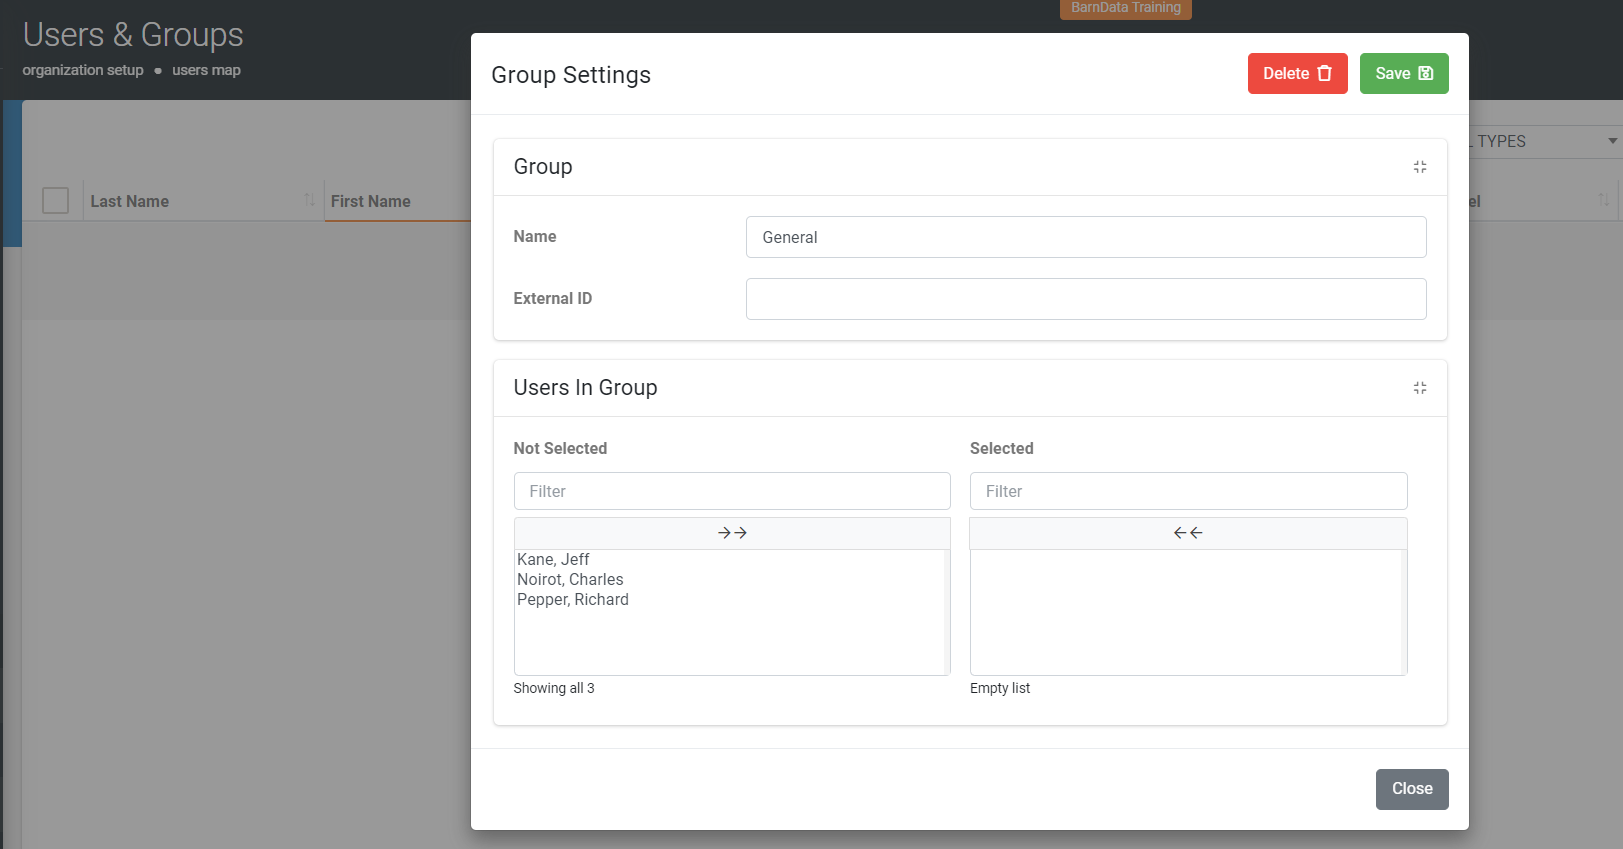
You can then assign these Groups to specific Folders via the Folder Settings popup, which is accessible via the little “cog” icon found next to each Folder name in the Screens, Docs and Data Sources listing pages.
Restricting Screen Access/Visibility on the App
If you employ Folders as mentioned above, then your users will only see what you grant them access to.
Another option is to create your own custom app start screen.
You can do this by using the “Start Screen” option found on the Settings > App Setup Options page.
If you create a custom Icon Board screen for example, you can then apply visibility formulae to dynamically show/hide the respective icons of that Screen.
Filter Data Rows Prior to Being Sent to the App
If you need to show restrict data rows seen by the user based on complex business rules, then you should consider the following options.
Run a Platform Sync Web Service
One way to do this is to host the rows of the Data Source on your own server and use our Platform Sync connector option on the Data Source in question.
This means that your Platform Sync web service will have the ability to apply user-specific filtering on the data when the app requests the rows.
Platform Sync gives you maximum flexibility to apply whatever business rules you need, but it does require software developer skills to create the web service.
For more information, take a look at our Platform Sync documentation available on this platform.
Filter Data Rows Dynamically On the App
Another way to control visibility of data and Screens is by using our powerful formula engine functionality, which is available where-ever you see the little “hammer” icon in Screen designers.
You can leverage our formula functionality to filter and show/hide items in the following ways:
Apply “In-Screen” Filtering
Depending on the Screen in question, you can also apply app-side dynamic filters to Data Source rows by using our formula engine.
For example on a Form screen, you can specify a filter formula on Choices and Data Source type fields.
Similarly filters can be specified as parameters when opening Listing and Mapping screen types.
Leveraging User Metadata
User Metadata is a set of key/values that you can define on each user (via the Menu, My Account > Users & Groups > Select User or through the User API).
So you can setup user-specific data as needed, and then refer to these in a filtering formula via the USERMETA() formula function.
For example, you could add the employee’s group/role code as metadata, and then filter rows where the role/group column equals the user’s metadata value.
Apply Cross-Screen Context with Global Values
Global Values are device specific key/values that you can assign/set through a Form Screen, using the “Bind to Global Value” property available on most field types.
This allows you to get and set a value, accessing it by a key name of your choosing.
You can also refer to global values in any filter formula via the GLOBALVAL() function.
Global Values are a great way to have the user set a “context” for their app session, with that context selection then being available to any Screen’s formula areas.
Consider this example: 1.Have the user select their current job/project context (which is bound to a Global Value) via a simple Form. The Form should be configured to NOT upload on completion, thus saving many meaningless Form entry submissions. You can configure this “no upload” behaviour via the “Do Not Upload Data” option found on the Settings page of every Form Screen. 2.Design your other app screens to apply filtering and visibility formulae by referring to the saved user context via the GLOBALVAL() function. This way the context the user chooses will “follow” them through the other app screens they see and use. |